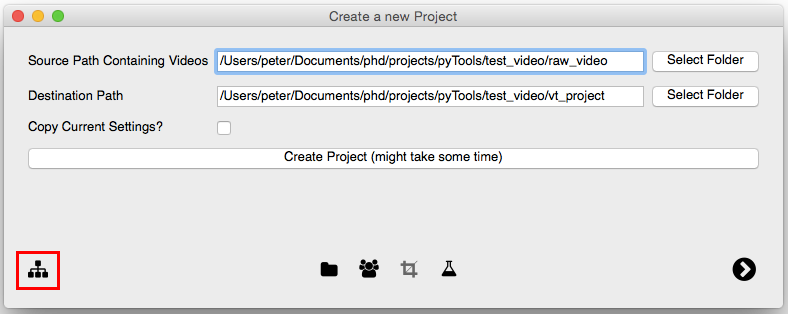
1. Re-encode the video
(If you are using the project data, you can skip this step.)
- Click on the project button on the buttom left.
- Select folder with video as source path
- Select empty folder as destination path
- Press create project
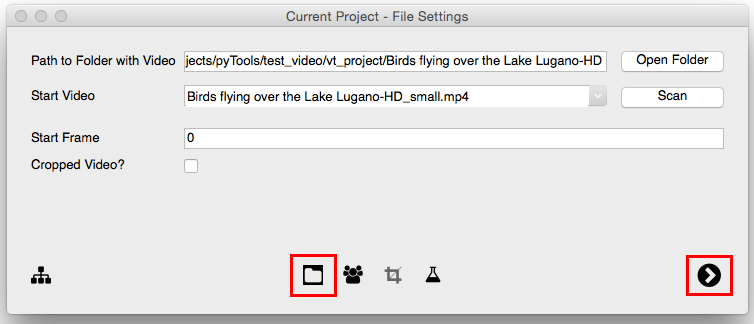
2. Select video
- Open File Settings Tab, by clicking on the file button on the buttom left of the center group.
- Select folder with re-encoded video (you do only need to select the folder not a specifcc file)
- Press the run button on the bottom right.
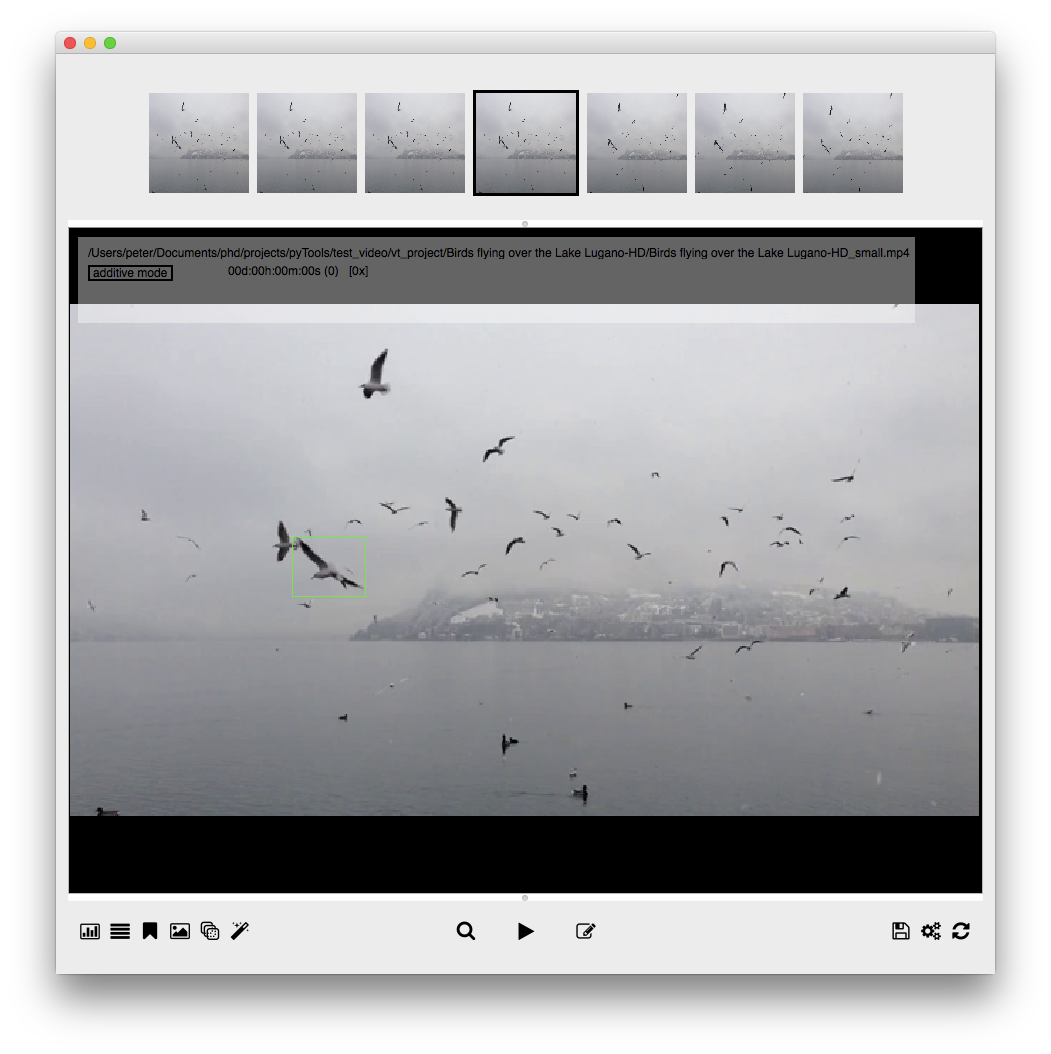
3. Running/browsing video
- Once the video is opened, you can use the F keys to navigate. F6 and F7 are for step-wise navigation (backwards and forwards respectively). In OSX the F keys are usually masked with system functions and you need to keep the fn key pressed to access the F key functionality. To change this behaviour in OSX, please follow the instructions on the Apple support center.
4. Adding annotations
You can add a new annotation by moving the mouse curser into the video and using left mouse click to draw a new bounding box. You open a new annotation with a right mouse click. It starts recording the mouse location for each frame that is accessed until you close the annotation with a second right mouse click.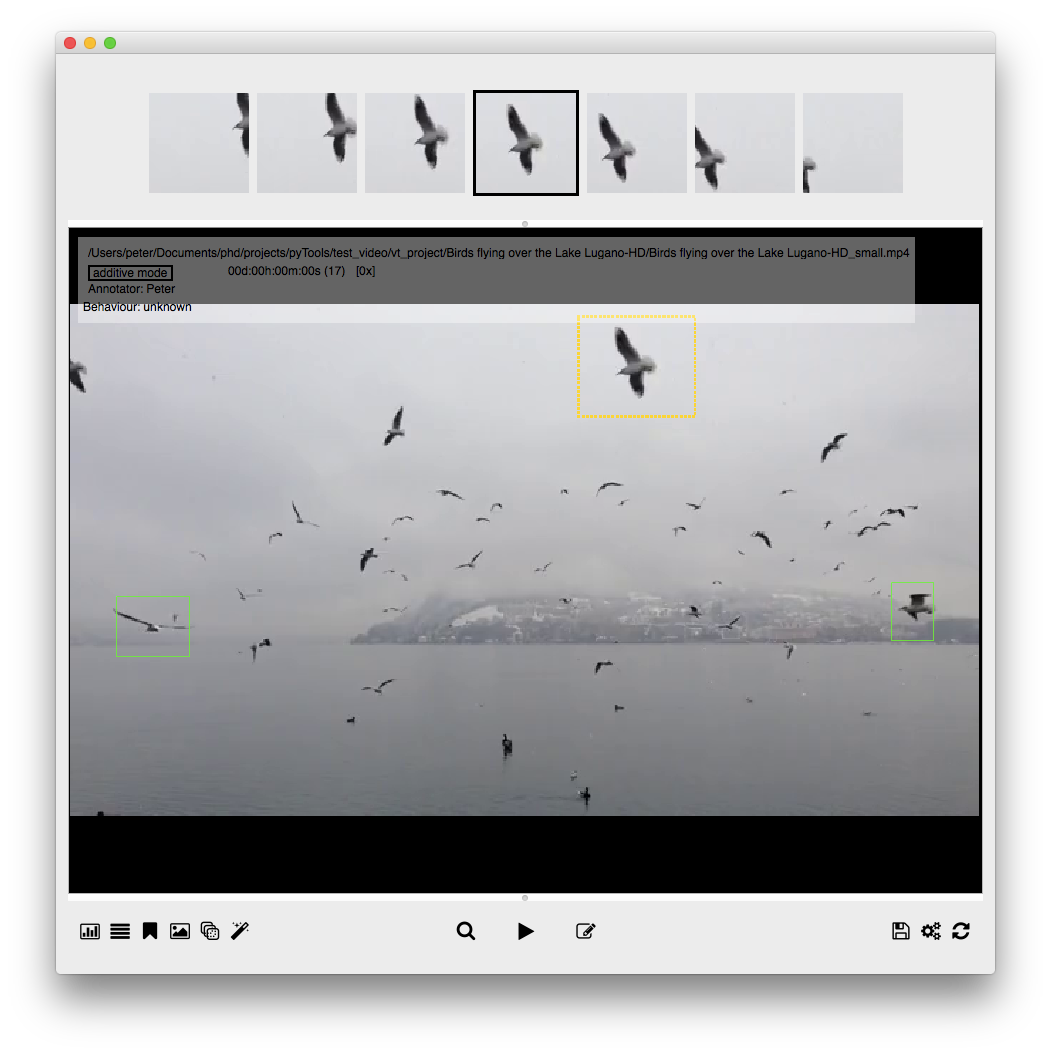
Continue reading..
Intro » Install » Run » Example Video » Manual (PDF) Github repository